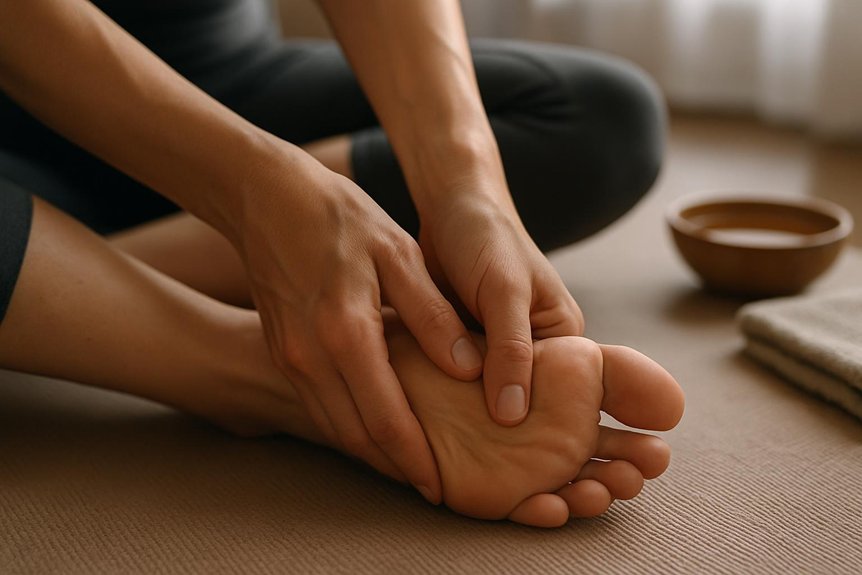
Clean zone therapy tools after every use. Hands should be washed first, then the tool rinsed 10–15 seconds under warm water to remove oils. Mild, fragrance-free soap should be worked into contours and pressure nodes for 20–60 seconds using fingertips or a soft brush, then rinsed until water runs clear and no slick feel remains. Pat dry with a lint-free cloth and air-dry fully before storage. Disinfect with 70% isopropyl alcohol for 60 seconds when sharing or broken skin risk. More material-specific steps follow.
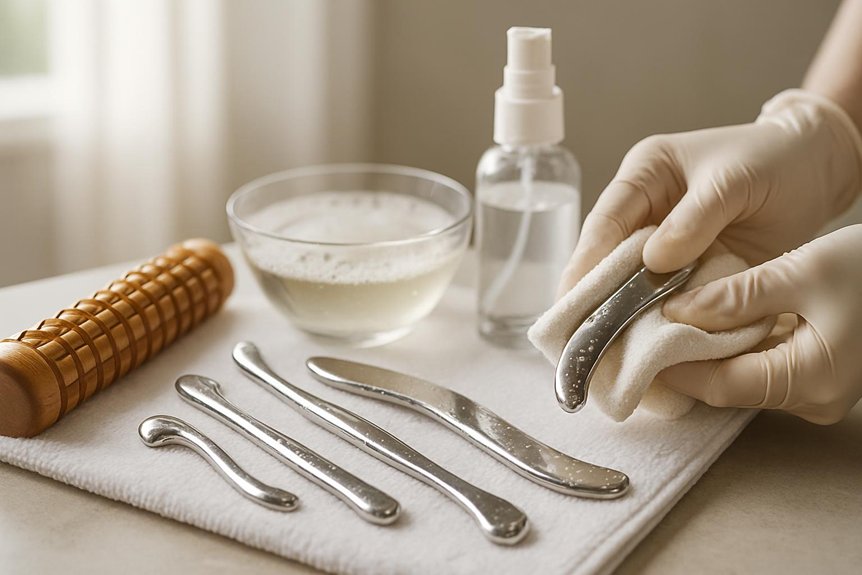
Clean Zone Therapy Tools in 5 Minutes (What You’ll Need)
How can the tools be sanitised quickly without compromising skin safety? Spa & Massage advises a five‑minute routine using: mild, fragrance‑free soap; warm running water; a soft brush; lint‑free cloths; 70% isopropyl alcohol wipes or spray; and a clean, covered drying surface. Therapists prioritise non‑porous tools and check manufacturer guidance.
Technique: wash hands, then rinse the tool for 10–15 seconds. Lather with soap, brushing grooves and pressure nodes for 60 seconds. Rinse thoroughly; pat dry to prevent slip during close, skin‑to‑skin work. Apply alcohol to all contact surfaces, keeping them visibly wet for 30–60 seconds. Air‑dry fully before storage. Replace cloths between clients and avoid sharing unclean items. This quick routine supports the healing power of zone therapy by keeping tools hygienic and skin-safe.
Clean vs Disinfect: What to Do and When
Often, zone therapy tools require both cleaning and disinfection, with the choice determined by visible soil, skin contact, and whether the tool will be used on another person.
Cleaning removes oils, lotion, sweat, and skin cells; it is always done first, using warm water and mild soap, then thorough rinsing and drying.
Disinfection is indicated after use on broken skin, when there is any blood or body-fluid risk, after sharing between clients, or when used in a clinical setting.
At Spa & Massage clinics, therapists treat every reusable tool as client-contact equipment: clean after each session, then disinfect before it touches another person’s feet or hands.
Apply an appropriate disinfectant for the stated contact time, keep the surface wet, and allow complete air-drying before storage.
Choose the Safest Cleaner for Your Tool’s Material
After cleaning and, where indicated, disinfecting, the next safety step is selecting a cleaner that matches the zone therapy tool’s material to prevent surface damage, residue transfer, or reduced hygiene performance. Spa & Massage advises checking the manufacturer guidance first, then choosing the mildest effective option.
For stainless steel tools, a pH‑neutral, fragrance‑free soap in warm water is typically safest; avoid chloride-rich products that can pit the finish.
For silicone or soft plastics, use a gentle, oil-free cleanser and rinse thoroughly to prevent slick residue that could compromise close, skin-to-tool contact.
For wood or porous stone, minimise water exposure and use a barely damp cloth with mild soap, then dry immediately to limit swelling or microcracks. Any cleaner should be fully rinsed and the tool air-dried before storage.
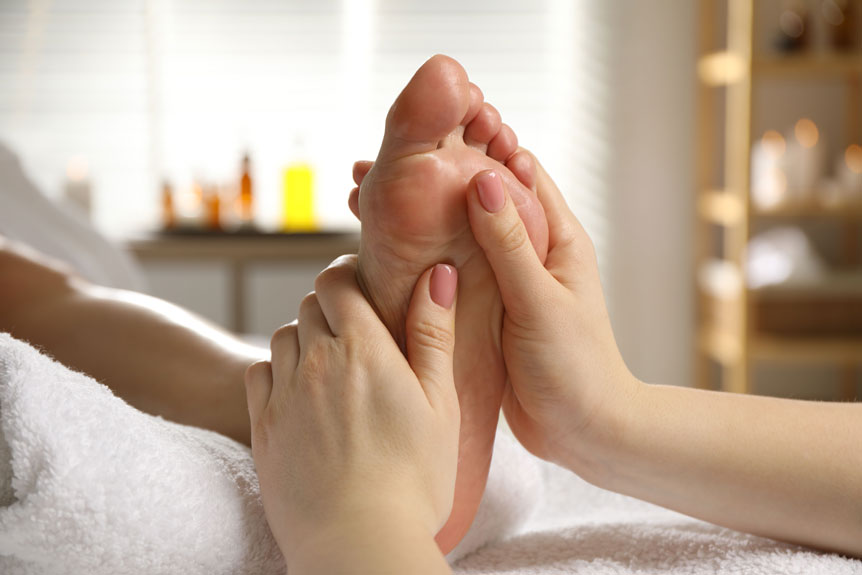
Disinfect Reflexology Tools the Safe Way
In most settings, disinfection is used as the next control step once a zone therapy tool has been cleaned of visible oils and debris, because disinfectants work poorly on soiled surfaces.
Spa & Massage advises selecting a skin-safe, broad-spectrum disinfectant suitable for the tool’s finish, then applying it with a clean, low-lint wipe so all contact points are fully wet. The surface should remain visibly wet for the product’s stated contact time; wiping dry too soon reduces kill rates.
Hands should be washed before and after, and fresh gloves used if there is broken skin.
Tools should be air-dried on a clean tray, stored in a closed pouch, and never shared between clients without full disinfection.
This protects close, personal care work safely.
Clean Wooden Zone Therapy Tools Without Damage
At Spa & Massage clinics, wooden zone therapy tools are cleaned with a mild soap solution applied to a cloth, then wiped clean to prevent surface abrasion.
Excess moisture is avoided by limiting water exposure and drying immediately, as soaking can swell wood fibres and compromise finish.
Once fully dry, a small amount of natural oil is applied sparingly to condition the wood and maintain smooth, hygienic contact.
Use Gentle Soap
Often, the safest way to clean wooden zone therapy tools without damaging the grain or finish is to use a mild, fragrance-free soap diluted in lukewarm water, applied sparingly with a soft cloth. The cloth should be wrung well, then drawn along the tool’s contours with light pressure, especially around ridges that contact skin.
A second cloth, clean and barely damp, can be used to lift any remaining soap film. The tool should then be wiped with a dry, lint-free towel to reduce surface residue and support a smooth feel during close, calming self-care.
In Spa & Massage clinics, therapists select gentle cleansers to minimise irritation for sensitive feet and hands. Avoid harsh detergents, disinfectants, or scented soaps that can dull finishes or trigger reactions.
Avoid Excess Moisture
After cleaning, controlling moisture exposure is critical to prevent wooden zone therapy tools from swelling, warping, or developing a roughened surface that can irritate skin.
At Spa & Massage, therapists advise pat-drying immediately with a clean, lint-free cloth, then air-drying fully in a well-ventilated room.
Tools should never be soaked, left in a damp towel, or placed in steamy bathrooms, as trapped humidity can raise the grain and compromise smooth contact during close, skin-to-tool work.
For safe disinfection, a lightly dampened cloth is preferred over running water; excess liquid should be wiped away at once.
Storage should be dry and breathable—such as a fabric pouch—kept away from radiators and direct sunlight.
Condition With Natural Oil
For long-term surface stability, wooden zone therapy tools should be conditioned periodically with a minimal amount of natural, skin-safe oil to reduce dryness, micro-splintering, and drag against the skin.
After cleaning and full air-drying, a clinician-grade approach is to apply one to two drops of cold-pressed sweet almond or jojoba oil onto a lint-free cloth, not directly onto the tool. The oil should be massaged along the grain, then left for 10 minutes to absorb. Excess must be buffed off until the surface feels satin-dry, never slippery, to protect grip and minimise residue transfer onto intimate skin.
At Spa & Massage clinics, therapists recommend monthly conditioning, or sooner if the tool looks dull, feels rough, or squeaks during use.
Avoid essential oils.
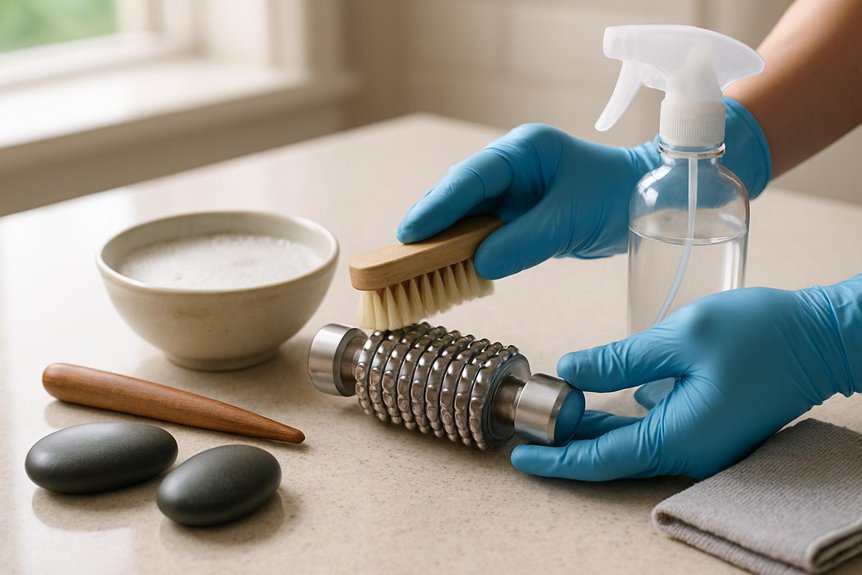
Clean Stainless Steel Zone Therapy Tools Fast
In a busy clinic setting, stainless steel zone therapy tools should be cleaned quickly using a simple, repeatable process that prioritises infection control and preserves the tool’s finish.
At Spa & Massage, therapists first don gloves, then rinse visible residue under warm running water. A pH‑neutral detergent is applied with a soft brush, working into grooves and rounded edges for 30–60 seconds, then thoroughly rinsed. The tool is disinfected with 70% isopropyl alcohol, kept visibly wet for the full contact time, then air-dried on a clean, lint-free towel. Handles and any joints are checked for moisture before storage.
For intimate treatments, a final wipe is performed immediately before skin contact to maintain confidence and comfort.
Clean Silicone and Plastic Zone Therapy Tools
For silicone and plastic zone therapy tools, Spa & Massage recommends daily cleaning with warm water and mild, non-abrasive soap, using a soft brush to clear grooves before rinsing thoroughly.
For disinfection, the tool should be wiped with a clinic-grade sanitising solution suitable for non-porous plastics and silicone, ensuring full surface contact for the specified dwell time.
Drying should be completed immediately with a clean, lint-free towel and then air-dried fully before storage to reduce microbial growth and material degradation.
Safe Daily Cleaning Steps
Ideally, silicone and plastic zone therapy tools should be cleaned after every use to reduce microbial transfer and preserve surface integrity.
At Spa & Massage, therapists advise washing hands first, then rinsing the tool under warm running water to remove body oils and lotion.
A small amount of mild, fragrance-free soap should be applied and worked into all contours, ridges, and pressure points for 20–30 seconds, using fingertips or a soft cloth. Avoid abrasive pads that can create micro-scratches where residue can cling.
The tool should then be rinsed thoroughly until water runs clear and no slick feel remains.
Before the next intimate session, the surface should be checked for cracks, tackiness, or sharp edges, and replaced if compromised.
Disinfecting And Drying Tips
After routine washing, silicone and plastic zone therapy tools should be disinfected and dried completely to minimise microbial load and prevent material degradation.
A clinic-grade approach is to apply 70% isopropyl alcohol, ensuring full surface wetting, then maintain a 60-second contact time before wiping with a clean, lint-free cloth.
Avoid bleach, harsh solvents, and prolonged soaking, which can cloud plastics and compromise silicone softness.
Where appropriate, a fresh disinfectant wipe may be used for ridges and grooves, then discarded immediately.
At Spa & Massage, therapists keep tools away from towels used on intimate areas and never share un-sanitised items between clients.
For drying, air-dry on a clean rack with ventilation; pat-dry seams to prevent trapped moisture.
Store only when fully dry.
Dry and Store Tools So They Stay Hygienic
Always dry zone therapy tools completely before storage, as residual moisture is a primary driver of bacterial growth and material breakdown.
After disinfection, tools should be patted with a clean, lint‑free towel, then air‑dried on a fresh surface until no cool dampness remains in grooves or joints.
At Spa & Massage clinics, therapists allow full air circulation and avoid closed containers while drying.
Once dry, tools should be stored in a dedicated, clean pouch or lidded box reserved only for zone therapy.
Storage areas should be cool, dry, and away from bathrooms, radiators, and direct sunlight.
Tools should be kept separated from oils and creams to prevent residue transfer.
Hands should be clean before handling, preserving a close, hygienic self‑care ritual.
Replace Worn Tools and Avoid Common Mistakes
Over time, zone therapy tools should be inspected and replaced when wear compromises hygiene or safe pressure application. Discard tools with cracks, sticky residue that persists after cleaning, rust, chipped edges, or distorted rollers; these faults can abrade skin and harbour microbes.
Replace porous items that retain odour or discoloration, and any tool that causes sharp, “pinching” sensation rather than broad, controlled compression. In Spa & Massage clinics, therapists favour smooth, intact surfaces that glide comfortably with measured pressure and predictable contact.
Common mistakes include sharing tools between partners without disinfection, over-sanitising with harsh chemicals that degrade finishes, and using excessive force to “chase” tenderness. Instead, work slowly, keep contact warm and close, and stop if redness persists or sensation changes.
Conclusion
Routine cleaning and correct disinfection preserve tool function and reduce cross‑contamination risk. Material‑specific methods are required: avoid soaking wood, use appropriate contact times for steel, and prevent chemical degradation of silicone or plastics. Thorough drying and closed, ventilated storage limit microbial regrowth. Tools should be inspected for cracks, corrosion, or peeling surfaces and replaced promptly when compromised. In practice, treat hygiene like a spacecraft pre‑launch checklist: brief, standardized, and non‑negotiable for every use.