For at-home foot reflex therapy, the person should lie semi-reclined with knees supported, keep the room warm, and use a pea-sized amount of neutral oil for light glide. They should start with gentle warming strokes, then increase to steady thumb-pad pressure (aiming for 4–6/10) along the ball under the toes, the inner arch, and the heel in a small grid. Toe traction and long finishing strokes follow; stop for sharp pain, numbness, swelling, or broken skin. Further guidance clarifies landmarks and contraindications.
Set Up for Foot Reflex Therapy: Position, Oil, Comfort
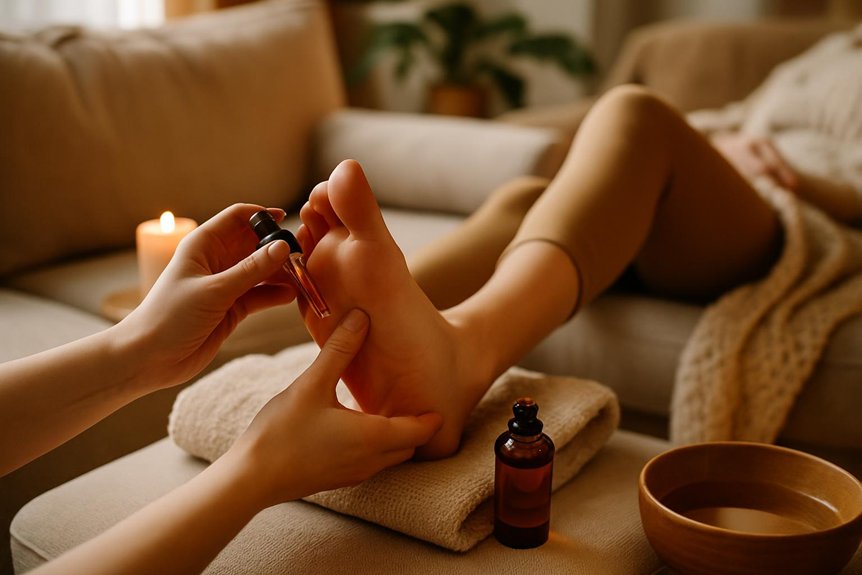
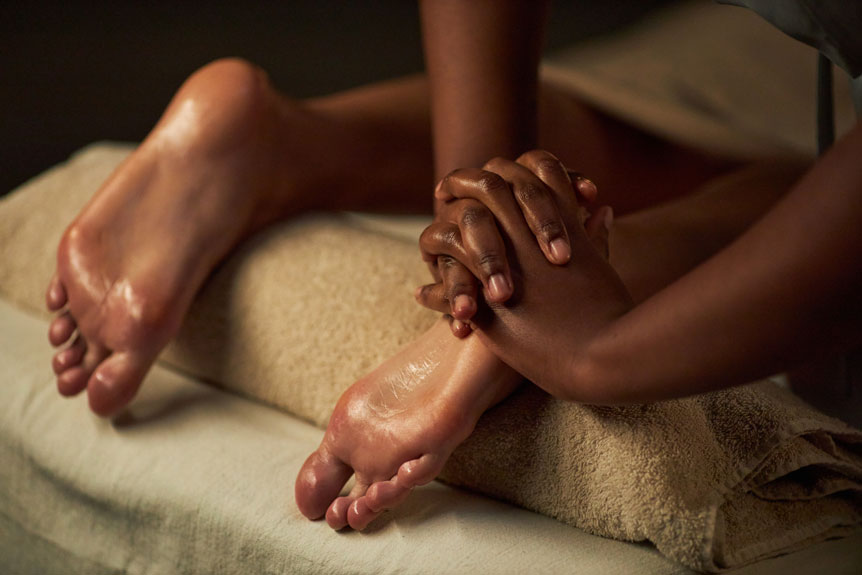
Before any pressure is applied, the setup should prioritise stable positioning, clean hands and feet, and a low-friction medium.
A firm sofa or bed is used; the receiver lies semi-reclined with knees supported by a cushion, and the working foot rests on a folded towel to prevent slipping.
Hands are warmed, nails are trimmed, and any cuts, infections, or acute swelling are checked; if present, the session is deferred.
Reflexology is often valued for its potential healing power when practiced with careful preparation and intention.
In Spa & Massage clinics, therapists use a small amount of neutral massage oil or balm; at home, a pea-sized amount is applied and re-applied sparingly to maintain glide without greasiness.
Jewellery is removed.
The room is kept warm, lighting soft, and a blanket placed over legs.
Hydration is offered.
Learn What Foot Reflex Therapy Pressure Should Feel Like
At Spa & Massage, appropriate reflex therapy pressure is introduced gradually, starting with light contact and increasing only to a firm, controlled level that feels therapeutic rather than painful.
Normal sensations may include warmth, mild tenderness, or a “good ache,” and any sharp pain, numbness, or lingering discomfort is treated as a signal to stop and reduce force.
For comfort and safety, pressure is adjusted by changing thumb angle, slowing the pace, and taking brief pauses, keeping communication and body feedback as the primary guide.
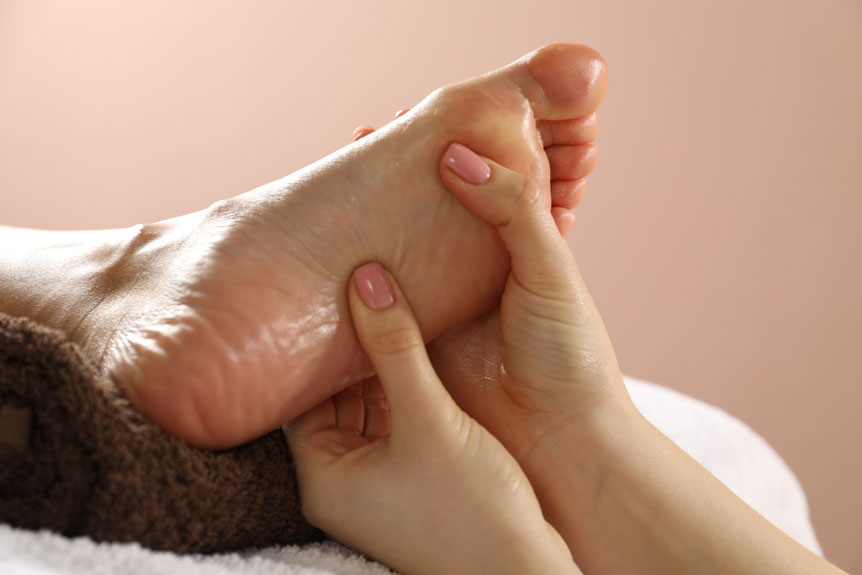
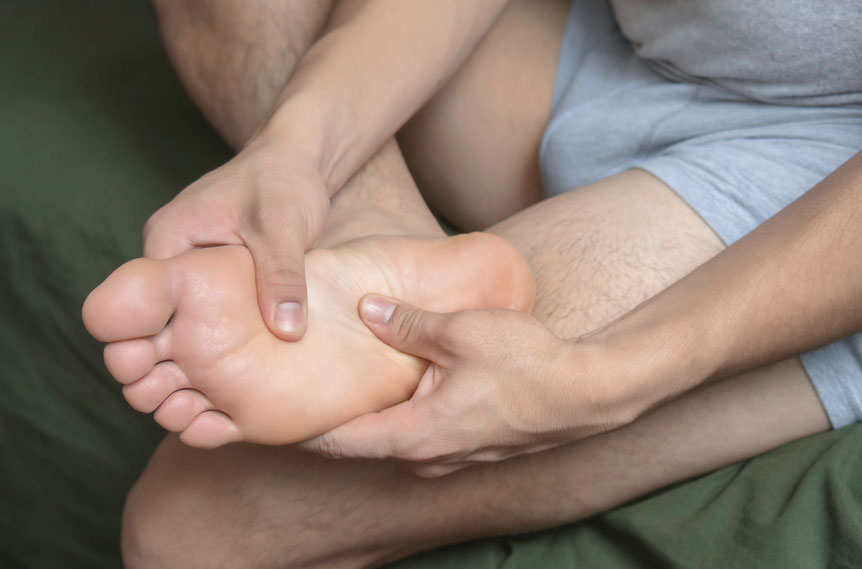
Finding The Right Pressure
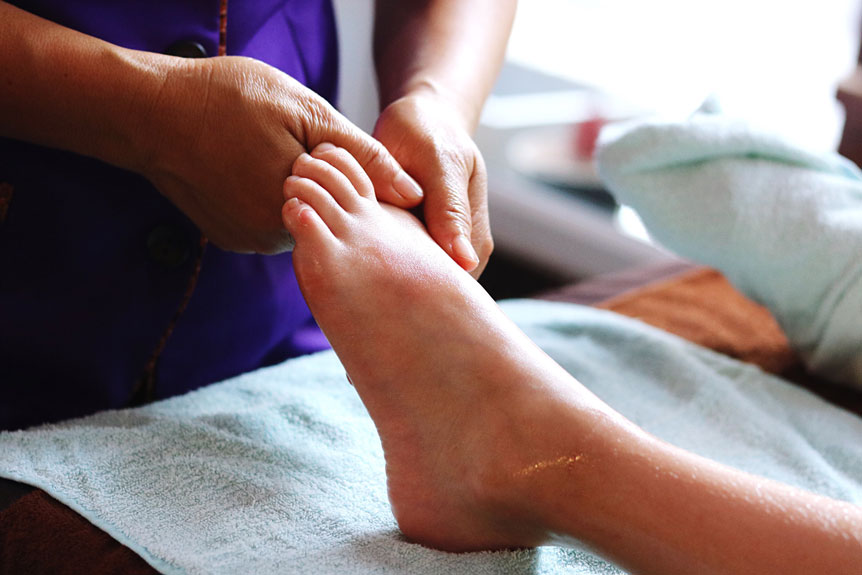
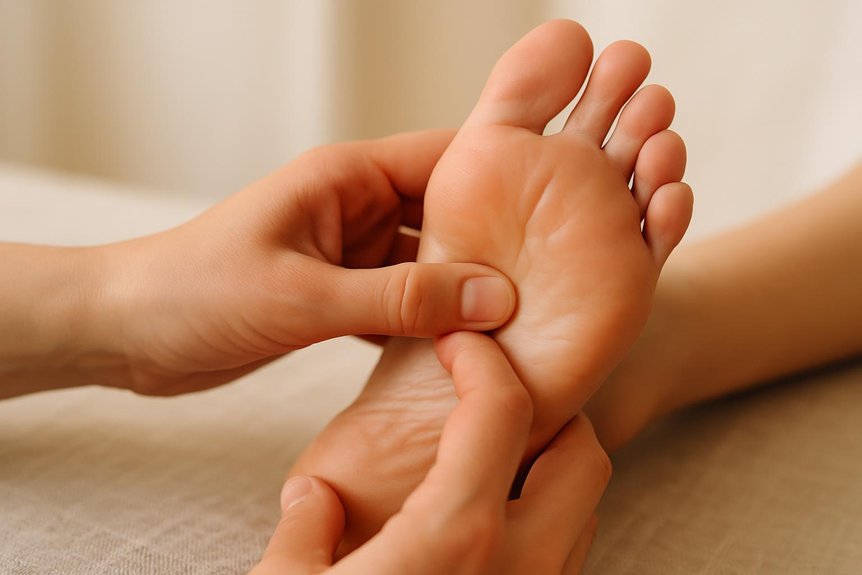
Using steady, controlled thumb pressure, foot reflex therapy should feel like a firm, specific “good pain” that stays tolerable, never sharp, burning, or numb.
Pressure is set by starting light, increasing over 2–3 breaths, then holding at a level the receiver can easily relax into.
The thumb should sink slowly into soft tissue rather than poke; the nail stays off the skin.
A simple 0–10 scale helps: aim for 4–6, where discomfort is present but breathing remains calm.
If guarding, flinching, or tightening occurs, reduce depth and slow the pace.
In Spa & Massage clinics across London, therapists re-check consent frequently; at home, partners should do the same before changing pressure or switching zones.
Stop immediately with concerning pain.
Sensations You May Notice
Once a tolerable 4–6/10 pressure has been established, the next check is the body’s feedback through sensation. In Spa & Massage clinics, therapists look for warmth spreading through the sole, a “good ache,” or a pleasant heaviness that softens after several seconds. Gentle tingling, subtle pulsing, or a sense of release can appear as the tissue yields and breathing slows.
Step-by-step, the person should note: (1) texture changes—gritty or tight spots may feel tender at first; (2) referral feelings—mild sensations may travel into toes, arch, or ankle; (3) skin response—slight flushing is expected, but sharp pain, burning, pins-and-needles, numbness, or coldness is not and signals a safety stop. Any dizziness or nausea also warrants stopping immediately.
Adjusting For Comfort
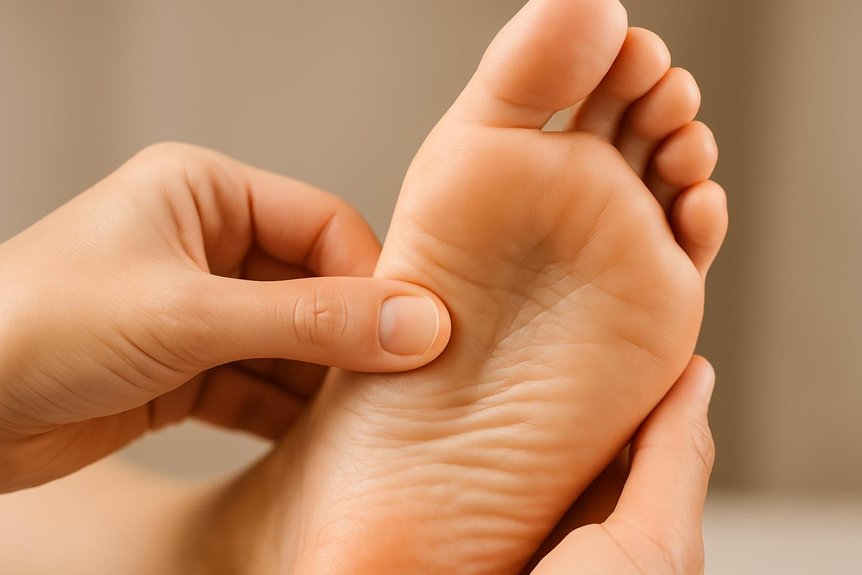
For most people, comfortable reflex therapy pressure sits in the “firm but manageable” range and should remain stable throughout each hold. The receiver should feel a steady, warm “good pressure,” not sharp pain, tingling, or numbness.
To adjust, the giver begins lightly, then increases by small increments over 5–10 seconds. The foot should stay relaxed; toes curling, breath holding, or pulling away signals excess force. Pressure is reduced immediately, then re-applied more slowly. On bony edges, arches, or tender points, contact is softened by using the thumb pad or knuckle, widening the touch. A small amount of oil can reduce drag; in Spa & Massage clinics, therapists prioritise smooth, controlled contact. Stop for broken skin, swelling, or sudden pain.
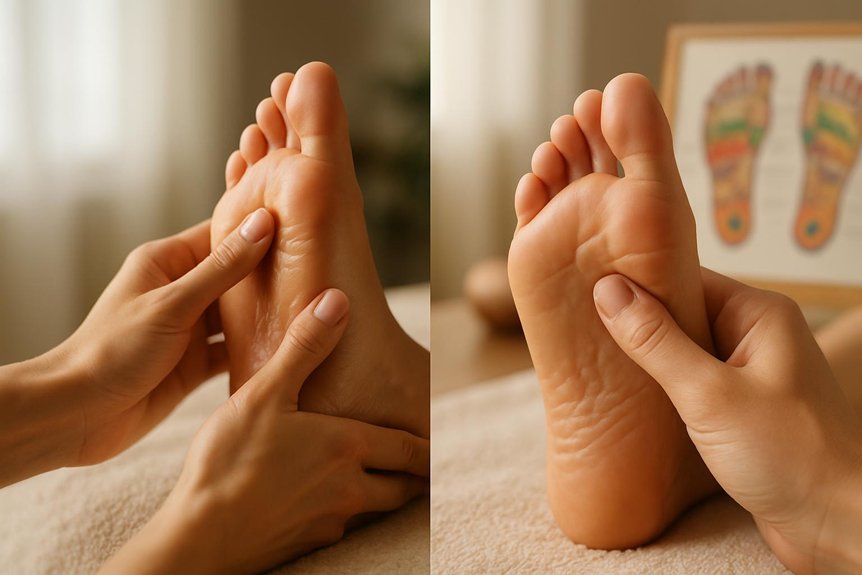
Find Key Foot Reflex Therapy Points (Map + Landmarks)
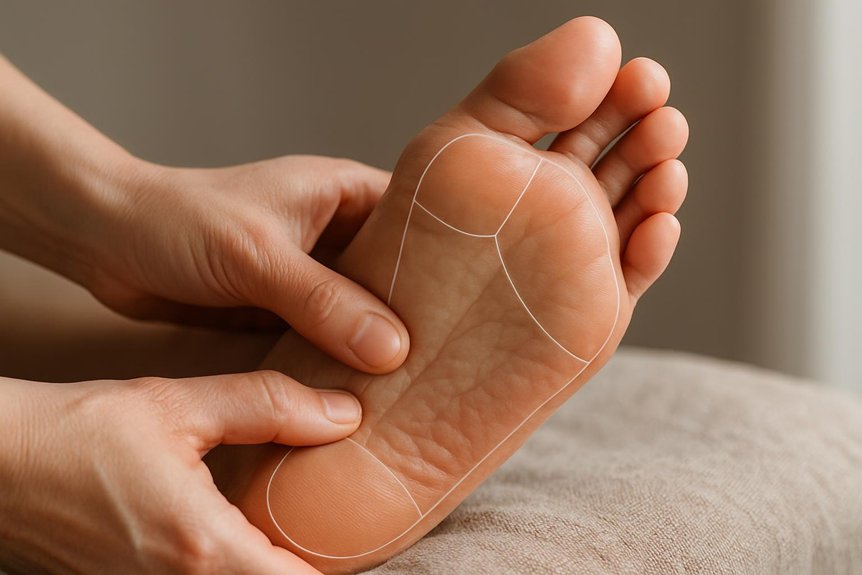
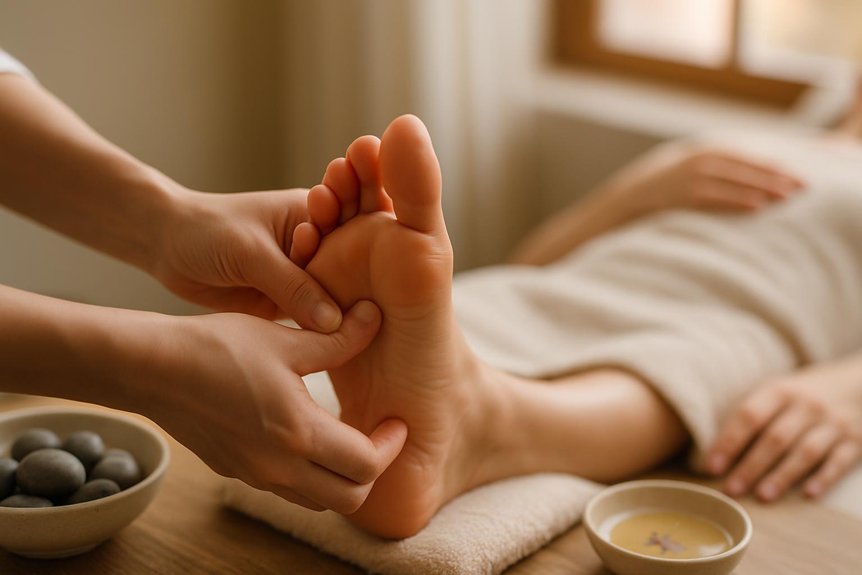
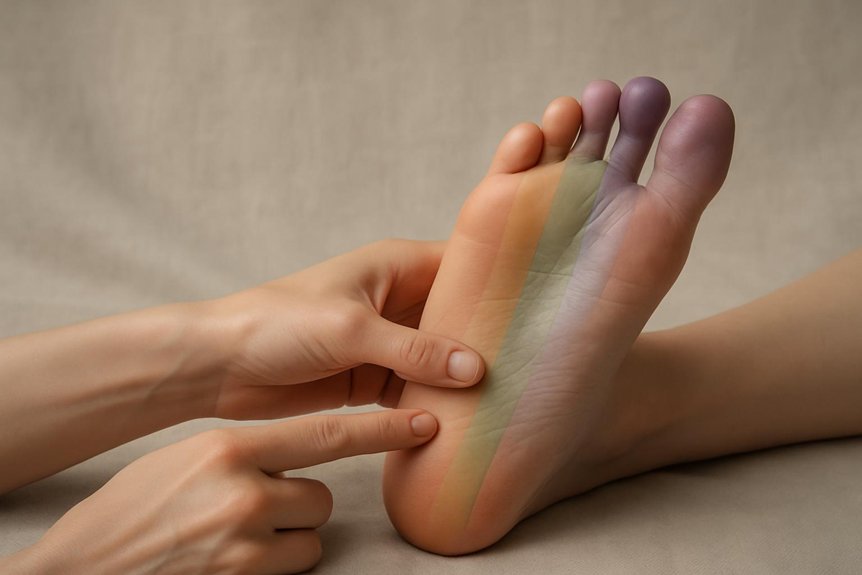
Often, locating key reflex therapy points at home is safest and most consistent when the foot is treated like a simple map anchored by fixed landmarks: the toes (top boundary), the ball of the foot (front pad), the arch (midfoot curve), and the heel (rear pad).
With the foot supported, a thumb can trace these zones lightly first, then add gentle pressure.
Toes correspond to head and sinus areas; work the pads under each toe.
The ball relates to chest and upper back; follow the ridge beneath the toes toward the outer edge.
The arch is linked to digestive organs; glide slowly along the inner arch line.
The heel reflects pelvis and lower back; press the centre and inner rim.
In Spa & Massage clinics, therapists keep pressure comfortable and stop with sharp pain.
Try a Simple 10-Minute Foot Reflex Therapy Routine
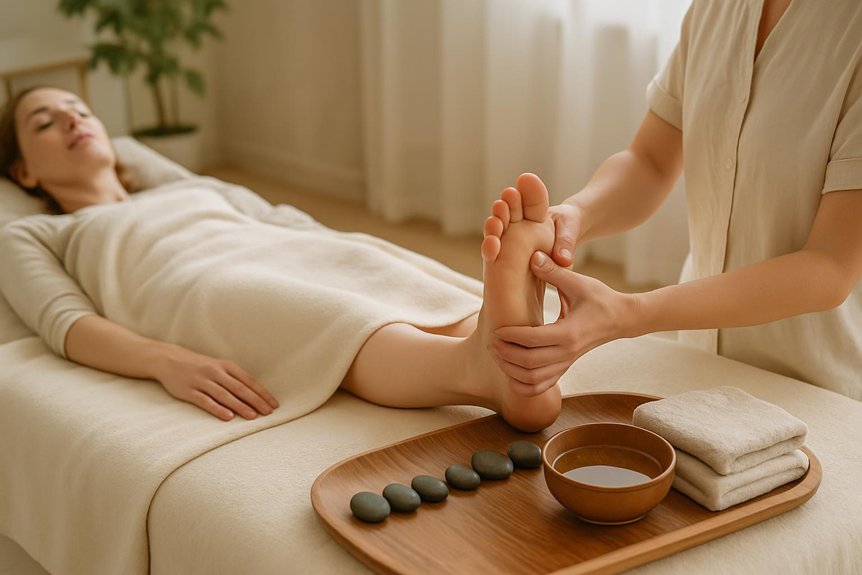
With the main foot landmarks and reflex zones identified, a short, structured routine can be used to apply consistent pressure without overworking sensitive areas. In a warm, quiet space, they should wash hands, remove jewellery, and support the foot on a cushion. A small amount of neutral oil, as used in Spa & Massage clinics, may reduce drag.
Minute 1: slow ankle circles and gentle toe traction.
Minutes 2–3: thumb-walk along the diaphragm line beneath the ball, then pause for three steady breaths.
Minutes 4–6: work the arch from heel to ball in short, even presses; keep discomfort ≤3/10.
Minutes 7–8: press the heel pad in a grid, avoiding sharp pain.
Minutes 9–10: finish with light strokes from toes to ankle. Stop for numbness, swelling, or worsening pain.
Foot Reflex Therapy for Stress, Sleep, and Sore Feet
To address stress and nervous system tension, a practitioner should apply slow, moderate pressure to the mid-foot and along the inner arch, pausing if sharp pain, numbness, or tingling occurs.
For sleep support, the routine should be performed in the evening using gentle, consistent strokes and steady breathing, avoiding overly deep work that can be stimulating.
For sore feet, targeted thumb-walking around the heel and ball of the foot can be used for 1–2 minutes per area, and Spa & Massage therapists recommend stopping if swelling, bruising, or significant tenderness is present and seeking professional assessment if symptoms persist.
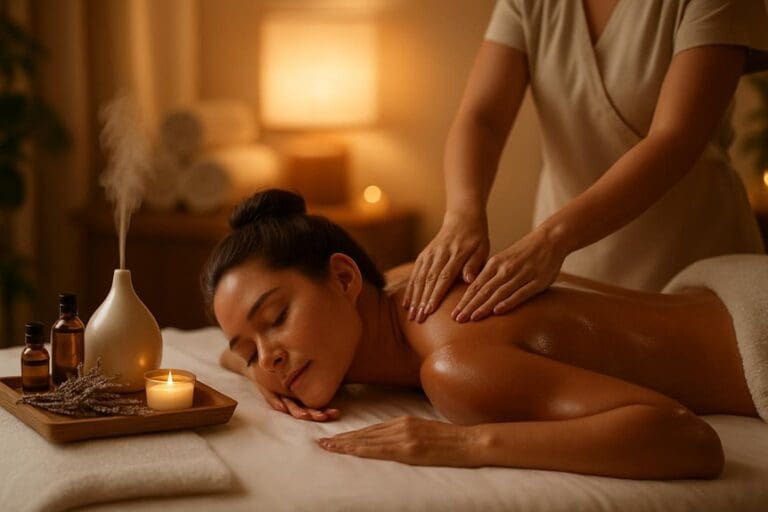
Stress And Nervous System
Massage sessions can, in many cases, downshift stress responses by engaging calming touch pathways that influence the nervous system.
At Spa & Massage clinics, therapists begin by ensuring comfort: warm hands, slow breathing, and a supported ankle to reduce guarding.
For home care, they recommend: 1) Seat the person comfortably; keep the room quiet and warm. 2) Apply a small amount of neutral oil or balm to minimise friction. 3) Use gentle, steady thumb-walking across the diaphragm line (under the ball of the foot) for 60–90 seconds per foot. 4) Follow with slow circles at the solar plexus point (centre of the arch) for 30 seconds. 5) Finish with light strokes from toes to heel.
Stop if pain, dizziness, numbness, or palpitations occur.
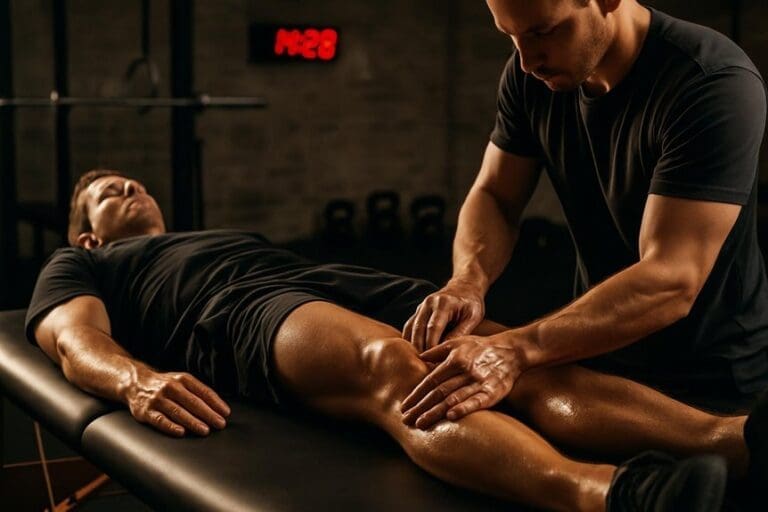
Sleep Support And Sore Feet
In the evening, a short foot-reflex therapy routine can be used to support sleep onset while easing soreness from standing, training, or tight footwear. The person should wash and warm the feet, then sit comfortably with a pillow under the knees.
In Spa & Massage clinics, therapists begin with slow, grounding strokes from heel to toes, 60–90 seconds each foot. Next, using thumb-walking, pressure is applied along the medial arch (spine line) and the centre pad under the big toe (calming area), keeping sensation “pleasantly tender,” not sharp.
For sore soles, gentle circles are made over the heel and ball, then the toes are softly tractioned. Finish with long strokes and 6 slow breaths.
Avoid reflex therapy with acute injury, fever, infection, or pregnancy without professional guidance.
Safety First: When to Avoid Foot Reflex Therapy and Book In
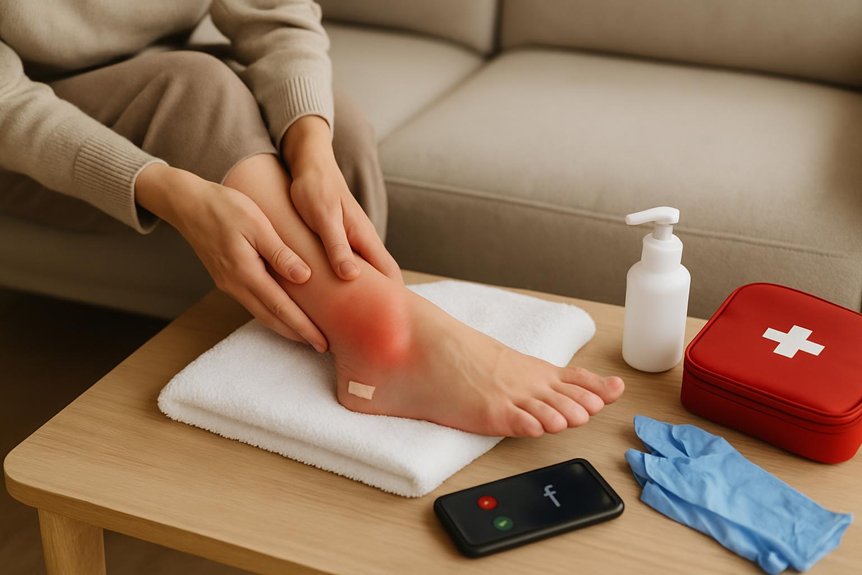
Often, the safest approach is to pause at-home foot reflex therapy and arrange a professional assessment when specific risk factors are present.
Step 1: stop if there is fever, unexplained swelling, sudden calf pain, or suspected deep vein thrombosis.
Step 2: avoid work on broken skin, fungal infection, ulcers, recent fractures, or post-surgical wounds.
Step 3: book in first for diabetes with reduced sensation, neuropathy, poor circulation, severe varicose veins, gout flare, or anticoagulant use.
Step 4: in pregnancy, skip strong pressure around ankles and heels; choose a trained pregnancy therapist.
Step 5: seek guidance if pain is sharp, persistent, or emotionally overwhelming.
In Spa & Massage clinics across London, therapists adapt pressure and check comfort, keeping touch close and respectful.
Conclusion
Home foot reflex therapy works best when it is structured, measured, and consistent: set the space, support the foot, apply oil, then use steady, tolerable pressure. Work methodically from heel to toes, map landmarks, and monitor comfort; aim for sensation, not pain. Pair slow, calming strokes with targeted points—relaxation beside precision, ease beside intention. Stop with sharp pain, numbness, wounds, fever, or high-risk pregnancy, and seek professional advice when uncertain.