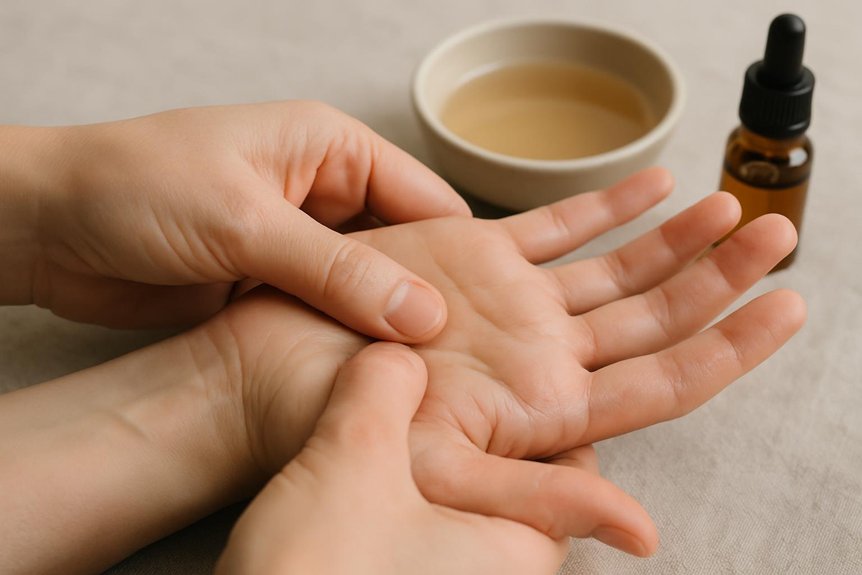
To do hand reflex therapy at home, hands should be washed, warmed, and checked for cuts, rashes, swelling, fever, or new numbness, postponing if present. A small amount of neutral oil can reduce skin drag. Using the opposite thumb pad, apply light-to-moderate pressure in slow circles and 10–20 second holds across the palm, then glide each finger base to tip and gently roll fingertips. Stop for sharp pain, tingling, bruising, or symptoms that feel abnormal. Further guidance covers maps and targeted sequences.
What Is Hand Reflex Therapy and What Can It Help?
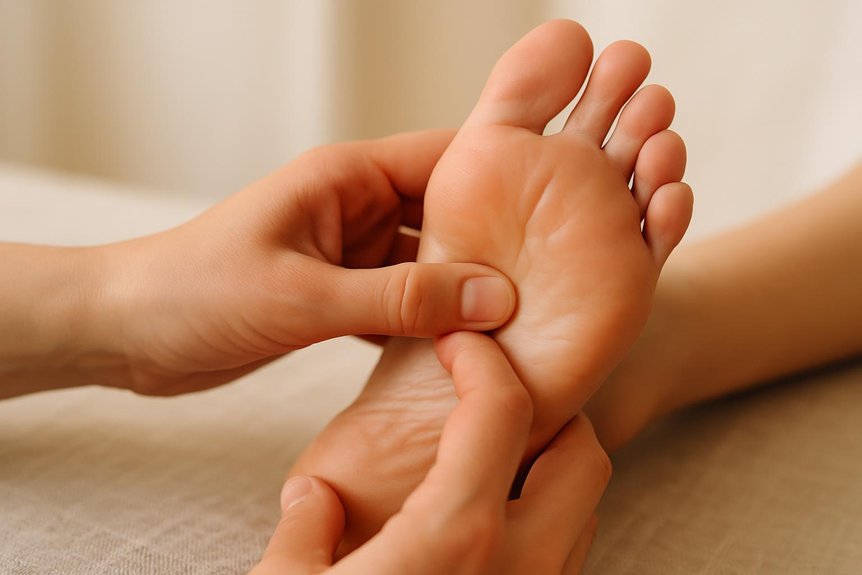
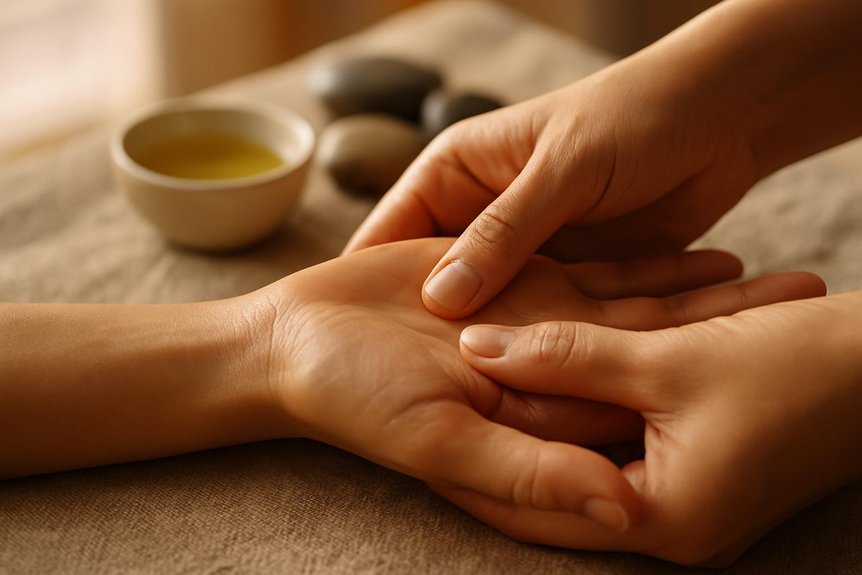
In clinical terms, hand reflex therapy is a structured manual therapy in which specific points on the hands are stimulated using controlled pressure to support relaxation and self-regulation. The method maps hand areas to body systems, then applies steady, comfortable touch to encourage a calming response. Many people explore the practice for its potential healing power.
At Spa & Massage, therapists typically begin by warming the hands, then use thumb-walking and small circular presses along the palm, fingers, and thumb base. Pressure is kept within a “pleasantly tender” range, with slow breathing and clear feedback to maintain ease and closeness.
Hand reflex therapy can help reduce perceived stress, soften muscular tension in the hands and forearms, support sleep readiness, and ease day-to-day head and jaw tightness linked to overuse. It may also promote a grounded, connected sense of wellbeing.
When to Avoid Hand Reflexology (and Why)
Before applying pressure to any reflex points, basic screening is required because hand reflex therapy can aggravate certain medical conditions or mask symptoms that need timely assessment. It should be avoided when there is fever, acute infection, unexplained swelling, sudden severe pain, chest pain, or new numbness/weakness; these require urgent medical review.
It should also be postponed with open cuts, rashes, burns, active eczema flares, or recent hand surgery, as contact can worsen inflammation and delay healing. Clients with blood-clot risk, severe bruising, or those using anticoagulants should not self-treat without clinician guidance. Pregnancy, epilepsy, and unstable heart conditions warrant professional clearance first. At Spa & Massage, therapists would pause and refer when symptoms feel “not normal.”
How Much Pressure Is Safe in Hand Reflex Therapy?
At Spa & Massage, safe hand reflex therapy at home is approached with light-to-moderate pressure first, increasing only if the area remains comfortable and responsive.
Pressure should be reduced immediately if there is sharp pain, tingling, numbness, bruising, or lingering soreness, as these are signs it is too forceful.
For sensitive hands, shorter holds, broader thumb or knuckle contact, and frequent re-checks of comfort help keep the technique controlled and safe.
Light-To-Moderate Pressure Basics
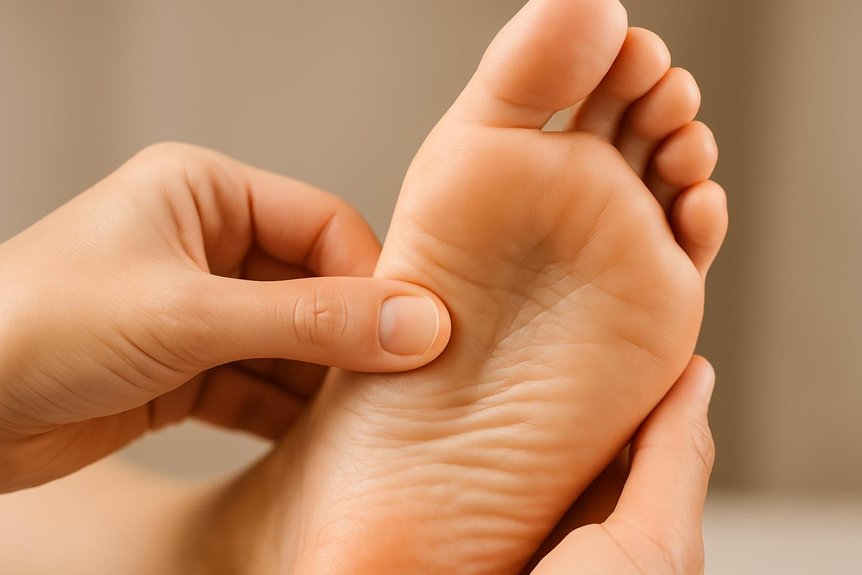
For safe hand reflex therapy at home, pressure should remain in the light-to-moderate range—firm enough to feel a “good” sensation in the tissue, yet never sharp or pain-inducing. At Spa & Massage clinics, therapists describe this as a comfortable, sinking contact that warms the area without forcing it.
Step-by-step: begin with three slow strokes to spread pressure; then hold a point for 3–5 seconds; release fully; repeat 2–3 times. Use the thumb pad, not the tip, and keep the wrist relaxed to avoid sudden force. If skin drag occurs, apply a small amount of neutral massage oil, as used in Spa & Massage treatments, to support smooth, intimate contact. Maintain steady breathing and keep pressure consistent across both hands.
Signs You’re Pressing Too Hard
How can someone tell when hand reflex therapy pressure has crossed from therapeutic into unsafe? They should watch for sharp, stabbing, or “electric” pain rather than a warm, relieving ache. They should stop if the hand withdraws, the wrist tenses, or breathing becomes shallow.
Skin signals matter: blanching that persists, pinching, or new bruising indicates excessive force. Nerve signs include tingling, numbness, or pain that travels up the arm. Joint cues include pressure landing on knuckles or tendons instead of the soft pads of the hand.
Aftercare signs are also important: soreness lasting beyond 24 hours, reduced grip strength, or swelling. At Spa & Massage clinics, therapists treat these as immediate “ease off” indicators and reassess technique.
Adjusting Pressure For Sensitivity
When should pressure be reduced for sensitive hands during home reflex therapy? Pressure should drop immediately if there is sharp pain, burning, tingling, numbness, throbbing, skin blanching, or post-touch soreness lasting beyond 24 hours.
It should also be reduced over bruises, inflamed joints, cuts, eczema flares, or varicose veins on the hands, and during pregnancy or anticoagulant use unless medically cleared.
Step-by-step adjustment: start with feather-light contact, then increase to a “pleasant ache” only, never pain.
Use the thumb pad, not the tip; slow the tempo; shorten holds to 2–3 seconds; and switch to gentle circles.
In Spa & Massage clinics, therapists reassess every few breaths and invite quiet feedback, keeping touch close, calm, and respectful.
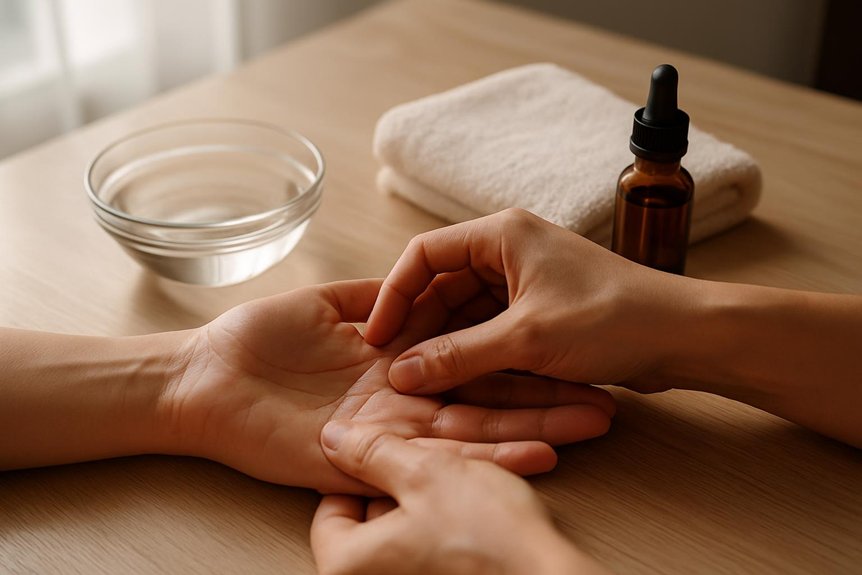
Get Set Up: Hands, Oil, and a Calm Space
Before any hand reflex therapy begins, a simple, controlled setup reduces friction on the skin and helps maintain consistent pressure.
Hands should be washed, dried, and checked for cuts, rashes, swelling, or recent injury; sessions are paused if skin is broken or pain is sharp.
Nails are trimmed to prevent scratching.
A small towel supports the wrist and keeps the hand warm.
A small amount of massage oil or cream is applied to both hands to allow slow, close contact; in Spa & Massage clinics, therapists favour non-greasy, skin-friendly blends and advise patch-testing if sensitive.
The space is kept quiet, warm, and private.
A seated position with forearms supported prevents strain.
Jewellery is removed, and a glass of water is placed nearby.
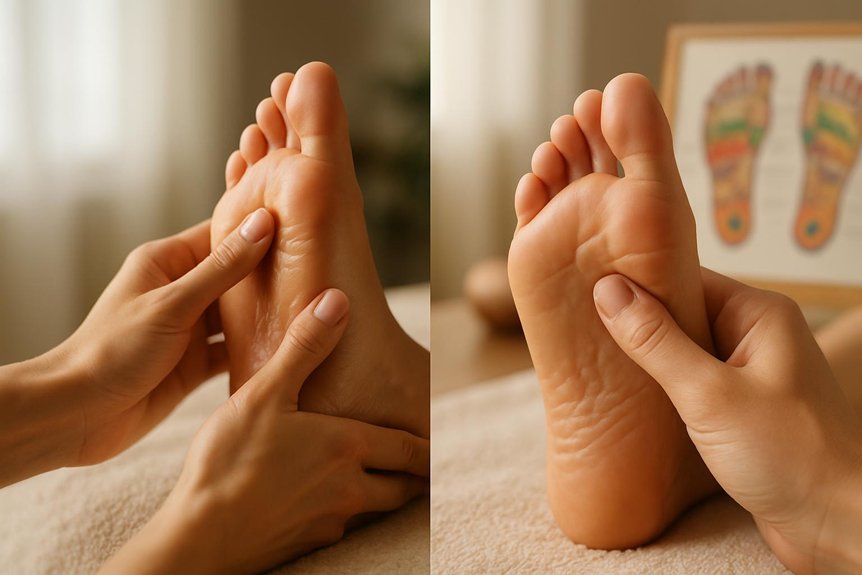
Find Your Hand Reflex Therapy Map in 60 Seconds
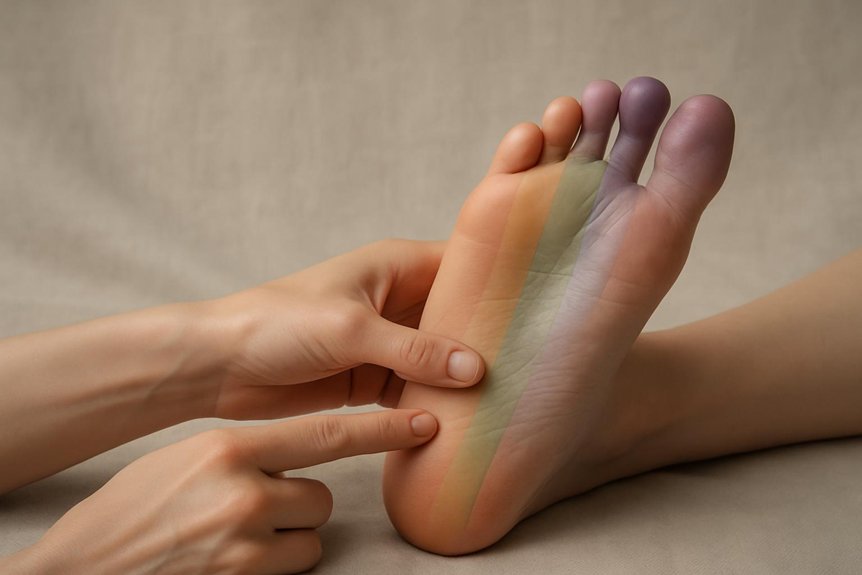
Within a minute, a workable hand reflex therapy map can be established by using clear anatomical landmarks rather than memorising charts: fingertips are treated as head/sinus points, the pads beneath the fingers as upper chest and shoulder area, the centre of the palm as digestive region, the outer edge of the palm (little-finger side) as spine/back line, and the wrist crease as pelvic/hip area; pressure is then applied only to tender-but-tolerable points, avoiding numbness, tingling, sharp pain, or any area with inflammation or broken skin (sessions are paused if these occur), mirroring the controlled, safety-led approach used in Spa & Massage clinics.
A quick check follows: compare left and right hands, noting asymmetry.
Use slow, close contact, keeping the breath soft.
In pregnancy, neuropathy, diabetes, or anticoagulants, pressure is reduced and advice is sought.
10-Minute Hand Reflex Therapy Routine (Step by Step)
Often, a one‑minute hand reflex therapy routine is most effective when structured into timed, repeatable steps that keep pressure tender‑but‑tolerable and stop immediately if sharp pain, numbness, tingling, inflammation, or broken skin is present—an approach consistent with the safety standards used in Spa & Massage clinics.
0–10s: Warm the chosen hand with slow palm strokes; invite the breath to soften.
10–25s: Using the thumb pad, press‑and‑release in small circles across the palm, moving from heel to centre.
25–35s: Glide along each finger from base to tip, one smooth pass, maintaining gentle contact.
35–50s: Pinch‑roll the fleshy webbing between thumb and index finger for comfort, not strain.
50–60s: Finish with light wrist circles, then rest the hand on the heart.
Hand Reflex Therapy Points for Stress and Better Sleep
After completing the 10‑minute routine, specific hand reflex therapy points can be targeted to downshift stress and support sleep quality.
First, press the Heart/Chest zone (center of the palm) with slow, circular pressure for 60–90 seconds, keeping breath steady.
Next, work the Solar Plexus point (soft hollow just below the palm’s center) for 60 seconds, easing pressure on exhale.
Then, pinch-walk along the inside edge of the thumb (Spine line) from base to tip for 1 minute to settle the nervous system.
Finish by gently squeezing and rolling each fingertip and nail bed for 30 seconds per finger to promote calm. Pressure should feel tender, never sharp.
Stop with numbness, bruising, or pregnancy concerns; Spa & Massage therapists advise medical review if symptoms persist.
Hand Reflex Therapy Points for Headaches and Sinus Pressure
When headache tension or sinus pressure builds, which hand reflex therapy zones can be targeted first for relief?
Spa & Massage therapists start with the thumb pads and tips (head/face zone).
Using warm hands and a light oil if desired, apply steady pressure with the opposite thumb, then make slow micro-circles for 30–60 seconds per area.
Next, trace the ridge between thumb and index finger (sinus zone), pressing along it in small steps, pausing on tender points.
For nasal congestion, work the webbing between thumb and index with gentle pin-and-release, 5–8 repeats.
Pressure should feel “good pain,” never sharp.
Avoid broken skin, acute infection, or severe migraine symptoms; seek medical care for sudden, worst-ever headaches.
Hand Reflex Therapy Points for Digestion and Bloating
At Spa & Massage, the digestion-and-bloating sequence starts by referencing a simple digestive reflex zones map on the palm and thumb, then identifying key points commonly used for abdominal discomfort.
Pressure is applied with the opposite thumb in slow, steady holds (about 10–20 seconds per point) and gentle circular presses, repeated for 1–2 minutes per hand, stopping immediately if sharp pain, numbness, or worsening symptoms occur.
Timing is kept conservative—ideally between meals or at least 30–60 minutes after eating—and persistent, severe, or accompanied symptoms (e.g., fever, vomiting, blood in stool) require medical assessment rather than self-treatment.
Digestive Reflex Zones Map
Digestive-reflex mapping on the hand provides a structured way to locate and stimulate points commonly linked in reflex therapy to bloating, sluggish digestion, and abdominal discomfort. At Spa & Massage clinics, therapists typically orient the “digestive line” across the mid‑palm and the “elimination path” along the outer edge toward the wrist.
Step 1: Warm the hands, then apply a small amount of neutral oil for glide and comfort.
Step 2: Identify the upper mid‑palm as the stomach area; work in slow circles.
Step 3: Trace the mid‑palm toward the thumb side for liver/gallbladder zones.
Step 4: Follow a gentle arc across the palm for small/large intestine zones.
Step 5: Finish at the heel of the palm for lower abdominal support. Stop if pain, numbness, or bruising occurs.
Key Points For Bloating
For bloating relief, hand reflex therapy typically targets the mid‑palm “stomach” area, the thumb‑side “liver/gallbladder” zone, and the outer‑edge “elimination path” toward the wrist.
In Spa & Massage clinics, therapists first check for tenderness, heat, swelling, or skin breaks; any of these warrants a gentler approach or postponement.
The stomach point is located centrally in the palm, just below the knuckle line, often presenting as a tight, sensitive patch.
The liver/gallbladder zone sits on the fleshy thumb pad and along its base, where fullness may feel congested.
The elimination path tracks down the outer hand edge from little‑finger base to wrist crease, often feeling ropey.
Persistent or severe bloating requires medical assessment.
Self-Press Techniques And Timing
Once the key digestive zones have been identified, self-press work should be applied in short, controlled cycles to reduce tenderness without irritating tissue.
At Spa & Massage, therapists advise using the thumb pad to press straight down, holding 3–5 seconds, then releasing fully; repeat 6–10 times per point. Pressure should feel like “good discomfort,” never sharp pain, numbness, or tingling.
For bloating, a slow micro-circle can be added during the hold, keeping the wrist relaxed and the breath steady and close to the body.
Timing is best after meals by 60–90 minutes, or before bed for calming. Limit a full hand sequence to 5–8 minutes per side.
Stop if symptoms worsen, or if pregnancy complications, fever, or acute abdominal pain are present.
Conclusion
Hand reflex therapy at home works best when treated like a small, structured protocol rather than a quick squeeze. The process is: prepare hands and space, apply light-to-moderate pressure, follow a simple point sequence, and stop if pain, numbness, or flare-ups occur. Avoid practice when contraindications apply, and adjust intensity for sensitivity. With consistency, the routine can function like a dimmer switch—gradually lowering nervous-system arousal while supporting comfort and sleep.