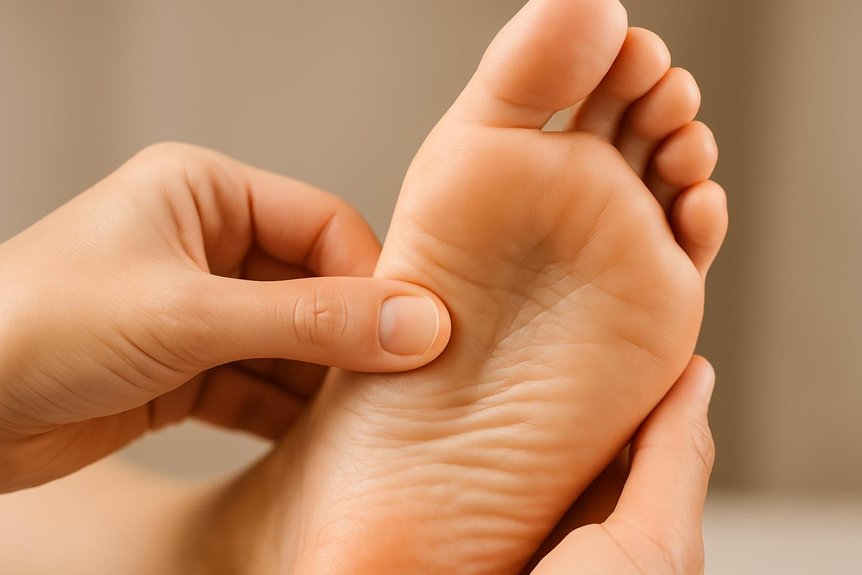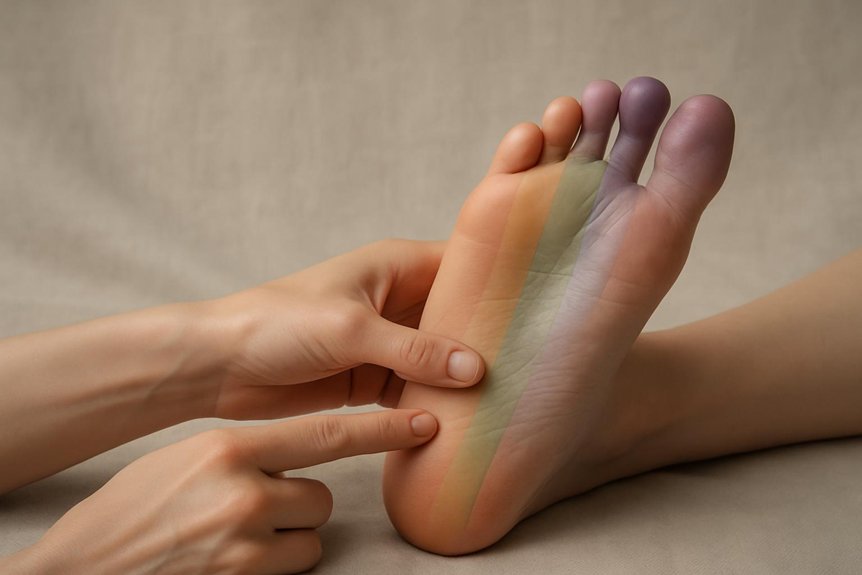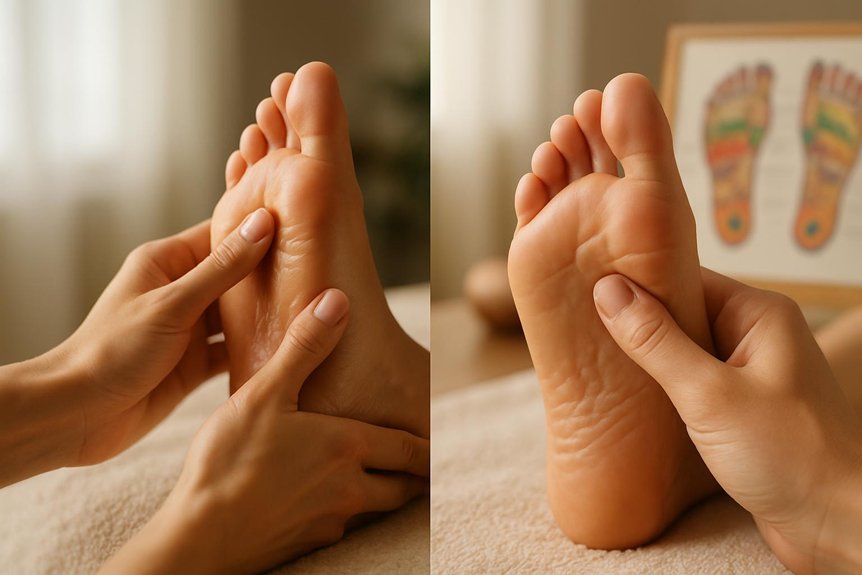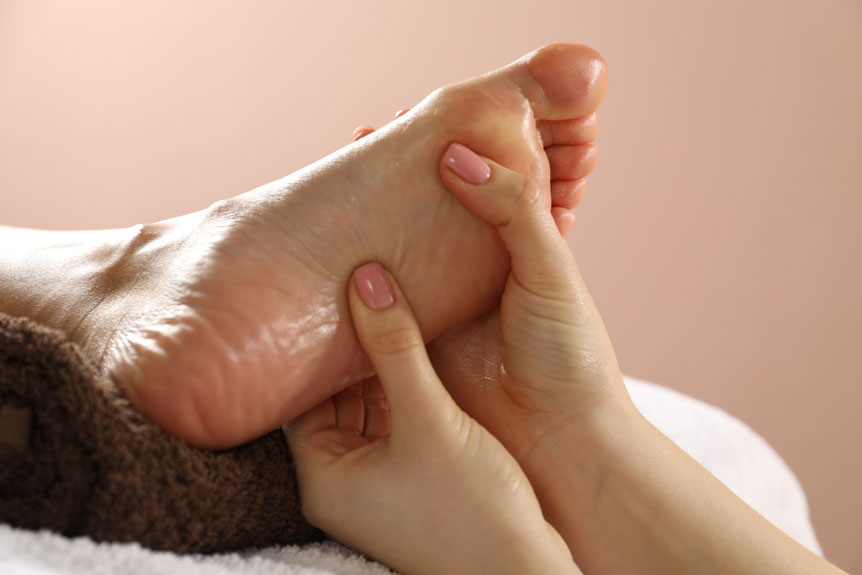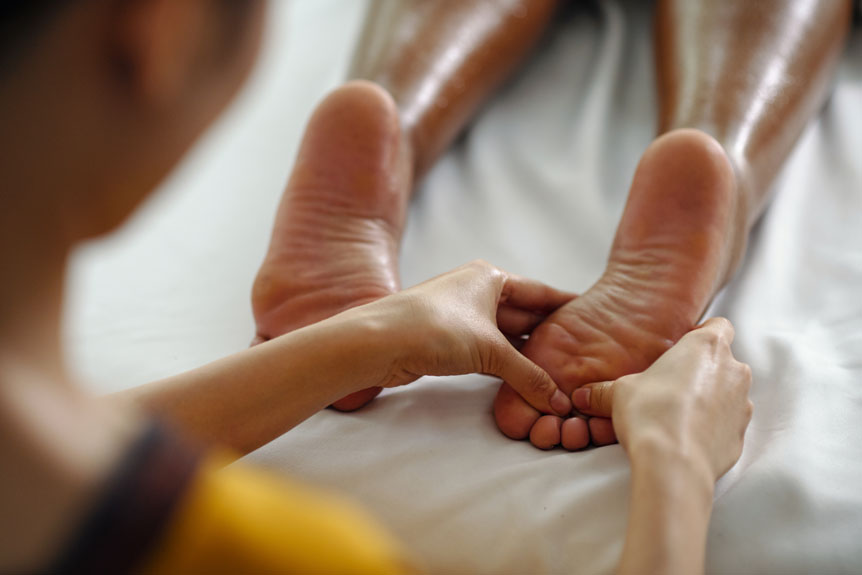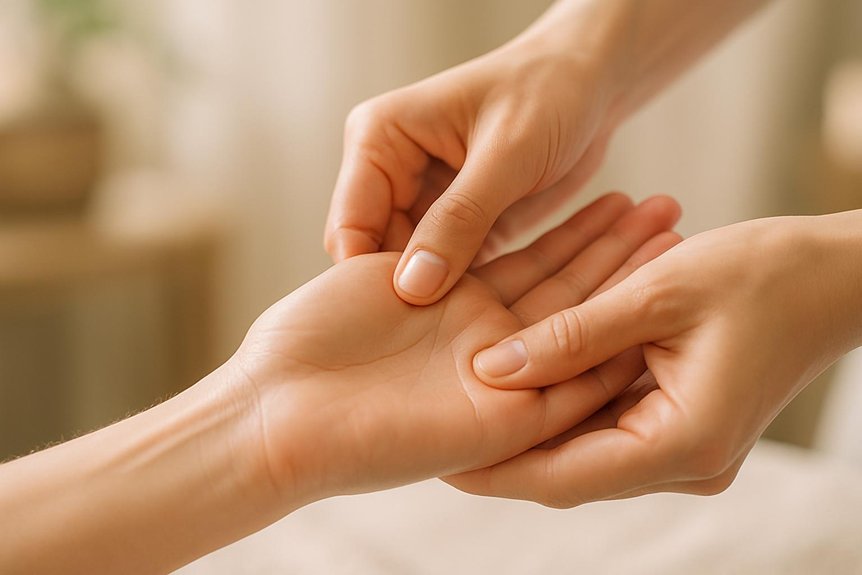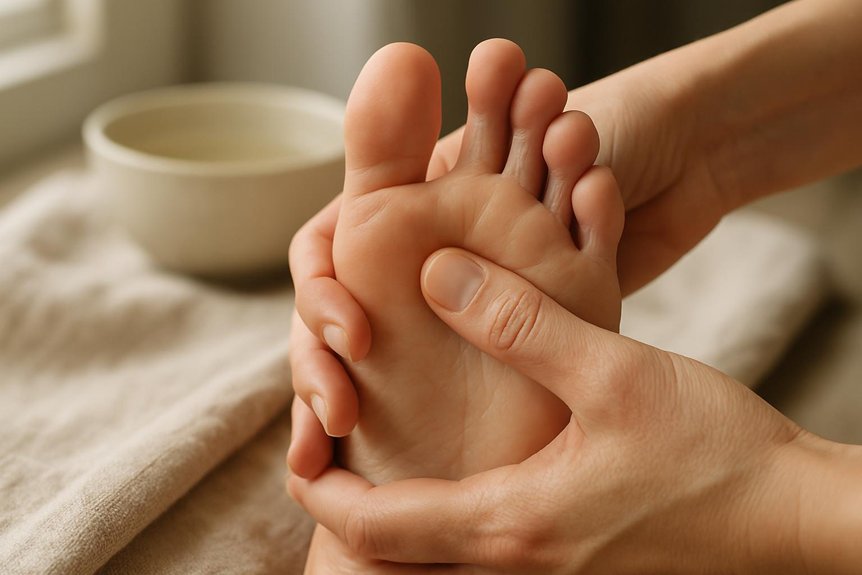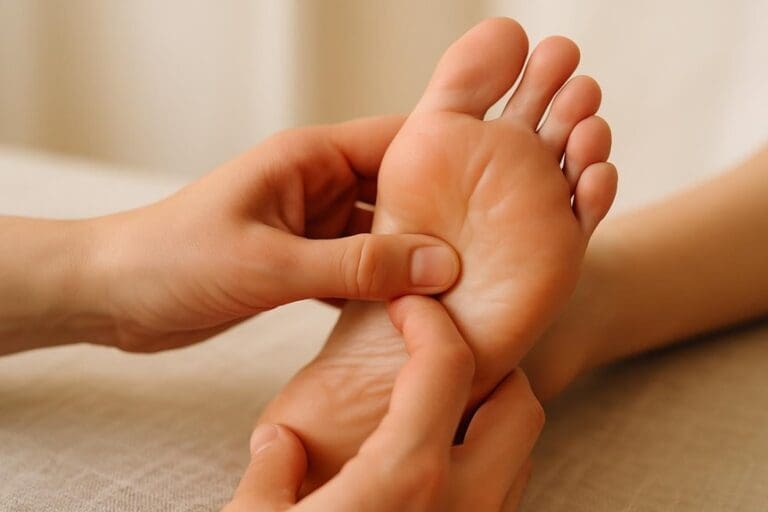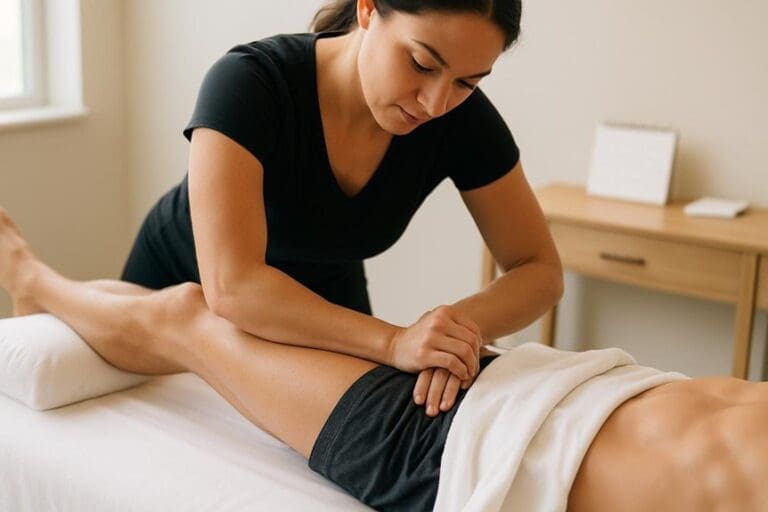
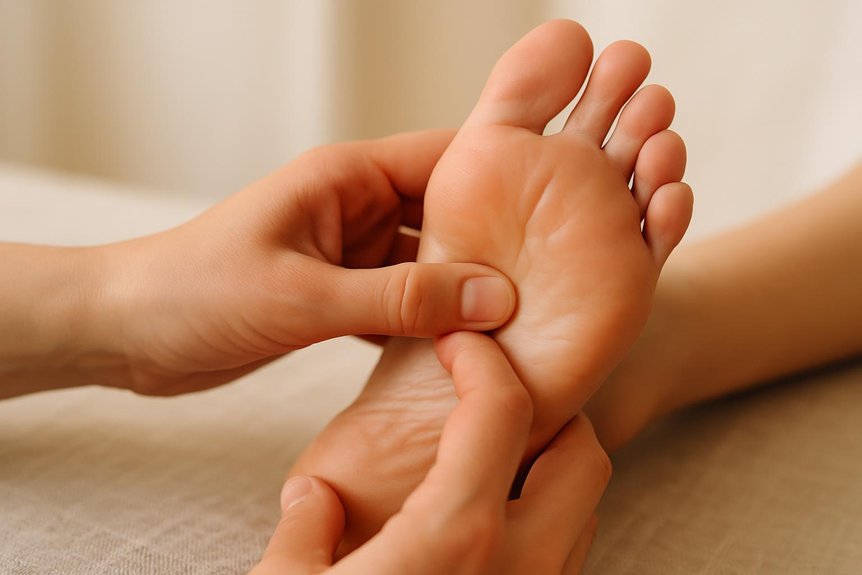
Thumb walking in zone therapy uses controlled, incremental pressure to advance the thumb in 2–5 mm “steps” without sliding. The wrist stays neutral, the thumb pad softly domed, and pressure is transferred from small forearm shifts while the other hand stabilises the foot. Each cycle follows press, hold briefly, advance, and repeat along a reflex line with continuous skin contact. Pressure should feel strong but comfortable (about 4–6/10), reducing immediately for sharp pain or burning. Further guidance covers zones, rhythm, and common fixes.
What Thumb Walking Is in Reflexology
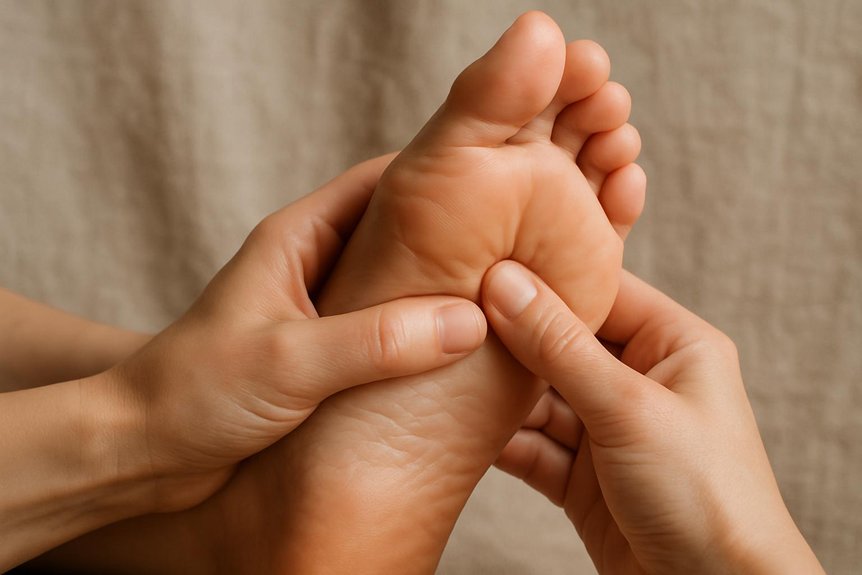
At its core, thumb walking in zone therapy is a controlled, incremental pressure technique in which the therapist advances the thumb in small “steps” along the foot while maintaining continuous contact with the skin.
The movement is driven by a subtle flexion-extension at the thumb joints, not by sliding, to minimise friction and keep pressure consistent.
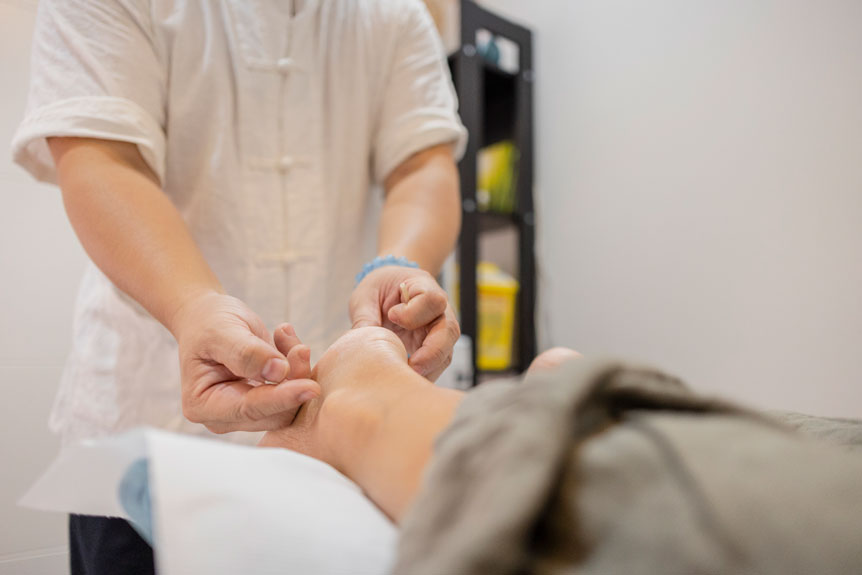
In Spa & Massage clinics, therapists use thumb walking to map and address specific reflex zones with precise localisation.
Pressure is introduced gradually, held briefly at each step, then advanced to the next point to create a steady rhythm that feels close and reassuring.
Sensation should register as “strong but comfortable”; sharp pain, numbness, or burning indicates immediate reduction of pressure or a change of area.
The technique is applied over clean, intact skin only.
Many people explore zone therapy for its potential healing power alongside other wellness practices.
Set Your Hands, Posture, and Pace for Thumb Walking
For thumb walking, the therapist sets the hands with neutral wrist alignment, keeping the forearm, wrist, and thumb in a straight line to reduce joint strain and maintain control.
The client’s foot is stabilised with the non-working hand, then pressure is advanced in small, even increments driven from the body and shoulder rather than wrist flexion.
A steady pressure rhythm is maintained—consistent depth, controlled release, and measured pacing—so tissue response can be monitored and intensity adjusted safely, as practised in Spa & Massage clinics.
Neutral Wrist Alignment
Before any pressure is applied in thumb walking, neutral wrist alignment should be established to protect the therapist’s joints and keep contact consistent across the reflex. The wrist stays straight, neither flexed nor extended, with the forearm forming a single line into the thumb. The hand is positioned so the metacarpophalangeal joint leads, while the thumb tip remains softly curved, not locked.
The supporting fingers cradle the client’s foot to reduce pinch force and encourage a close, secure hold. The therapist adjusts stool height so shoulders remain relaxed and elbows stay near the torso. In Spa & Massage clinics, therapists pause to reset alignment whenever tension is felt, maintaining intimate, steady contact without strain.
Steady Pressure Rhythm
With neutral wrist alignment maintained, steady pressure rhythm in thumb walking is established by setting the contact first, then moving in measured micro-steps. The therapist anchors the hand on the foot, keeps the thumb pad softly domed, and delivers pressure on the exhale to prevent sudden depth changes.
Each step follows a consistent cycle: press, glide a few millimetres, reset, then press again, avoiding scraping.
At Spa & Massage clinics, pace is kept slow enough for the client to feel safely held, yet continuous enough to maintain warmth. Pressure stays within a “good pain” range—never sharp, burning, or numb. If resistance is felt, intensity is reduced, contact is widened, or a brief pause is used to allow tissue release.
Find the Best Foot Areas for Thumb Walking
In zone therapy, thumb walking is most effective when applied to stable, high-sensory zones of the sole—areas where the therapist can maintain consistent pressure and track tissue response safely.
Priority sites include the medial arch (spinal line), the central arch (digestive and diaphragmatic fields), and the heel pad (pelvic and low-back field), where tissue is dense enough for controlled increments.
The ball of the foot is suitable when the metatarsal heads are supported, avoiding sharp bony edges.
The lateral border can be used for shoulder and arm fields, provided the client stays relaxed and the skin is not fragile.
At Spa & Massage clinics, therapists palpate for warmth, tension, or tenderness and reduce depth if sensation becomes sharp, guarding against strain.
Do Thumb Walking Step by Step (A Simple Sequence)
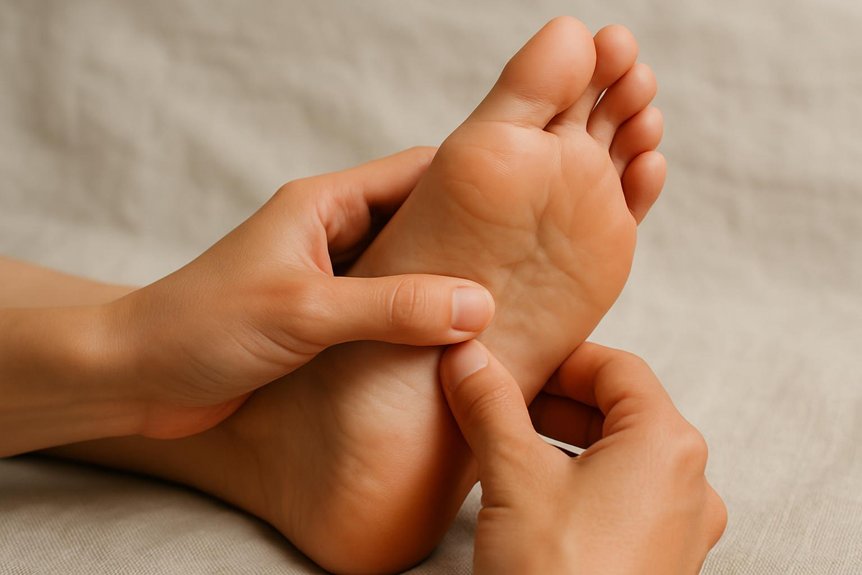
After selecting stable, high-sensory zones (arch, heel pad, and supported ball), thumb walking can be applied using a simple, repeatable sequence: the therapist seats the client comfortably with the foot supported, warms the sole with light effleurage, and applies a small amount of oil or balm for controlled glide as used in Spa & Massage clinics.
The therapist stabilises the foot with the non-working hand, then places the thumb pad on the target zone. Using thumb IP-joint flexion, the thumb “inchworms” forward in small increments: press, advance 2–5 mm, release, and repeat, keeping the wrist neutral.
Lines are worked from medial arch toward lateral arch, then across the ball, finishing with the heel pad. Tissue response is monitored; bony prominences and broken skin are avoided.
The sequence ends with soothing strokes and gentle ankle mobilisations.
Choose the Right Thumb Walking Pressure (Comfort Scale)
Often, appropriate thumb-walking pressure in zone therapy is selected using a simple comfort scale so sensation stays therapeutic rather than sharp or guarding.
Spa & Massage therapists typically guide clients to rate sensation from 0–10: 0–1 neutral contact, 2–3 warming awareness, 4–6 “good pressure” with relaxed breathing, 7–8 intense but still welcome, 9–10 too much.
For thumb walking, aim for 4–6.
Pressure is applied by leaning body weight through the thumb pad, not pressing from the thumb joint.
The pace stays slow enough to sense tissue change and client response.
If the client holds breath, curls toes, or withdraws, pressure is reduced immediately.
Communication remains continuous, quiet, and reassuring throughout each pass.
Common Thumb Walking Mistakes (And Quick Fixes)
Two frequent errors in thumb walking are applying force through the thumb joint (rather than controlled thumb-pad pressure) and allowing the step pattern to break into a jerky, non-gliding rhythm.
A safer correction is to keep the thumb slightly flexed, drive movement from the metacarpophalangeal joint with steady wrist support, and “walk” in small, even increments without bouncing. At Spa & Massage clinics, therapists maintain consistent contact and pace, reducing joint strain while preserving a smooth glide across the reflex area.
Using Thumb Joint Pressure
In thumb walking, a common error is driving pressure through the thumb joint (especially the interphalangeal joint) rather than through aligned body weight. This creates pinching, client discomfort, and therapist strain.
Quick fix: set the thumb in neutral, slightly flexed at the metacarpophalangeal joint, with the interphalangeal joint quiet. Stack wrist, forearm, and shoulder behind the contact, then transfer pressure from a small forward body shift, not a joint push. Keep the nail short and the pad broad, contacting with the distal phalanx pad rather than the tip. Reduce force and increase surface area when tenderness is reported. In Spa & Massage clinics, therapists check in regularly and avoid working over inflamed, bruised, or painful tissue.
Losing Rhythm And Glide
Maintain a steady cadence and continuous skin contact during thumb walking, because a stop–start rhythm or loss of glide turns the technique into a series of pokes that can spike tenderness and fatigue the therapist’s hand.
At Spa & Massage, therapists correct this by first softening the tissue with a warm palmar hold, then setting a metronomic pace: flex at the interphalangeal joint, advance 2–3 mm, then release without lifting.
Glide is maintained by anchoring the supporting fingers, keeping the thumb pad flattened, and using micro-shifts from the forearm rather than collapsing the wrist.
If friction increases, reduce pressure, slow down, and apply a minimal amount of lotion only when appropriate, preserving tactile feedback. Client comfort is checked after each line.
Conclusion
Thumb walking in zone therapy is most effective when posture is aligned, the thumb joint is supported, and pressure is progressed in small, controlled “steps” rather than sliding. A consistent pace, clear hand placement, and a simple sequence across key foot areas help maintain contact and reduce therapist strain. Pressure should remain within a client’s comfort scale and be adjusted immediately if sharp pain occurs. Avoid overreaching and collapsed thumbs—think “GPS-guided” precision for safe, repeatable results.